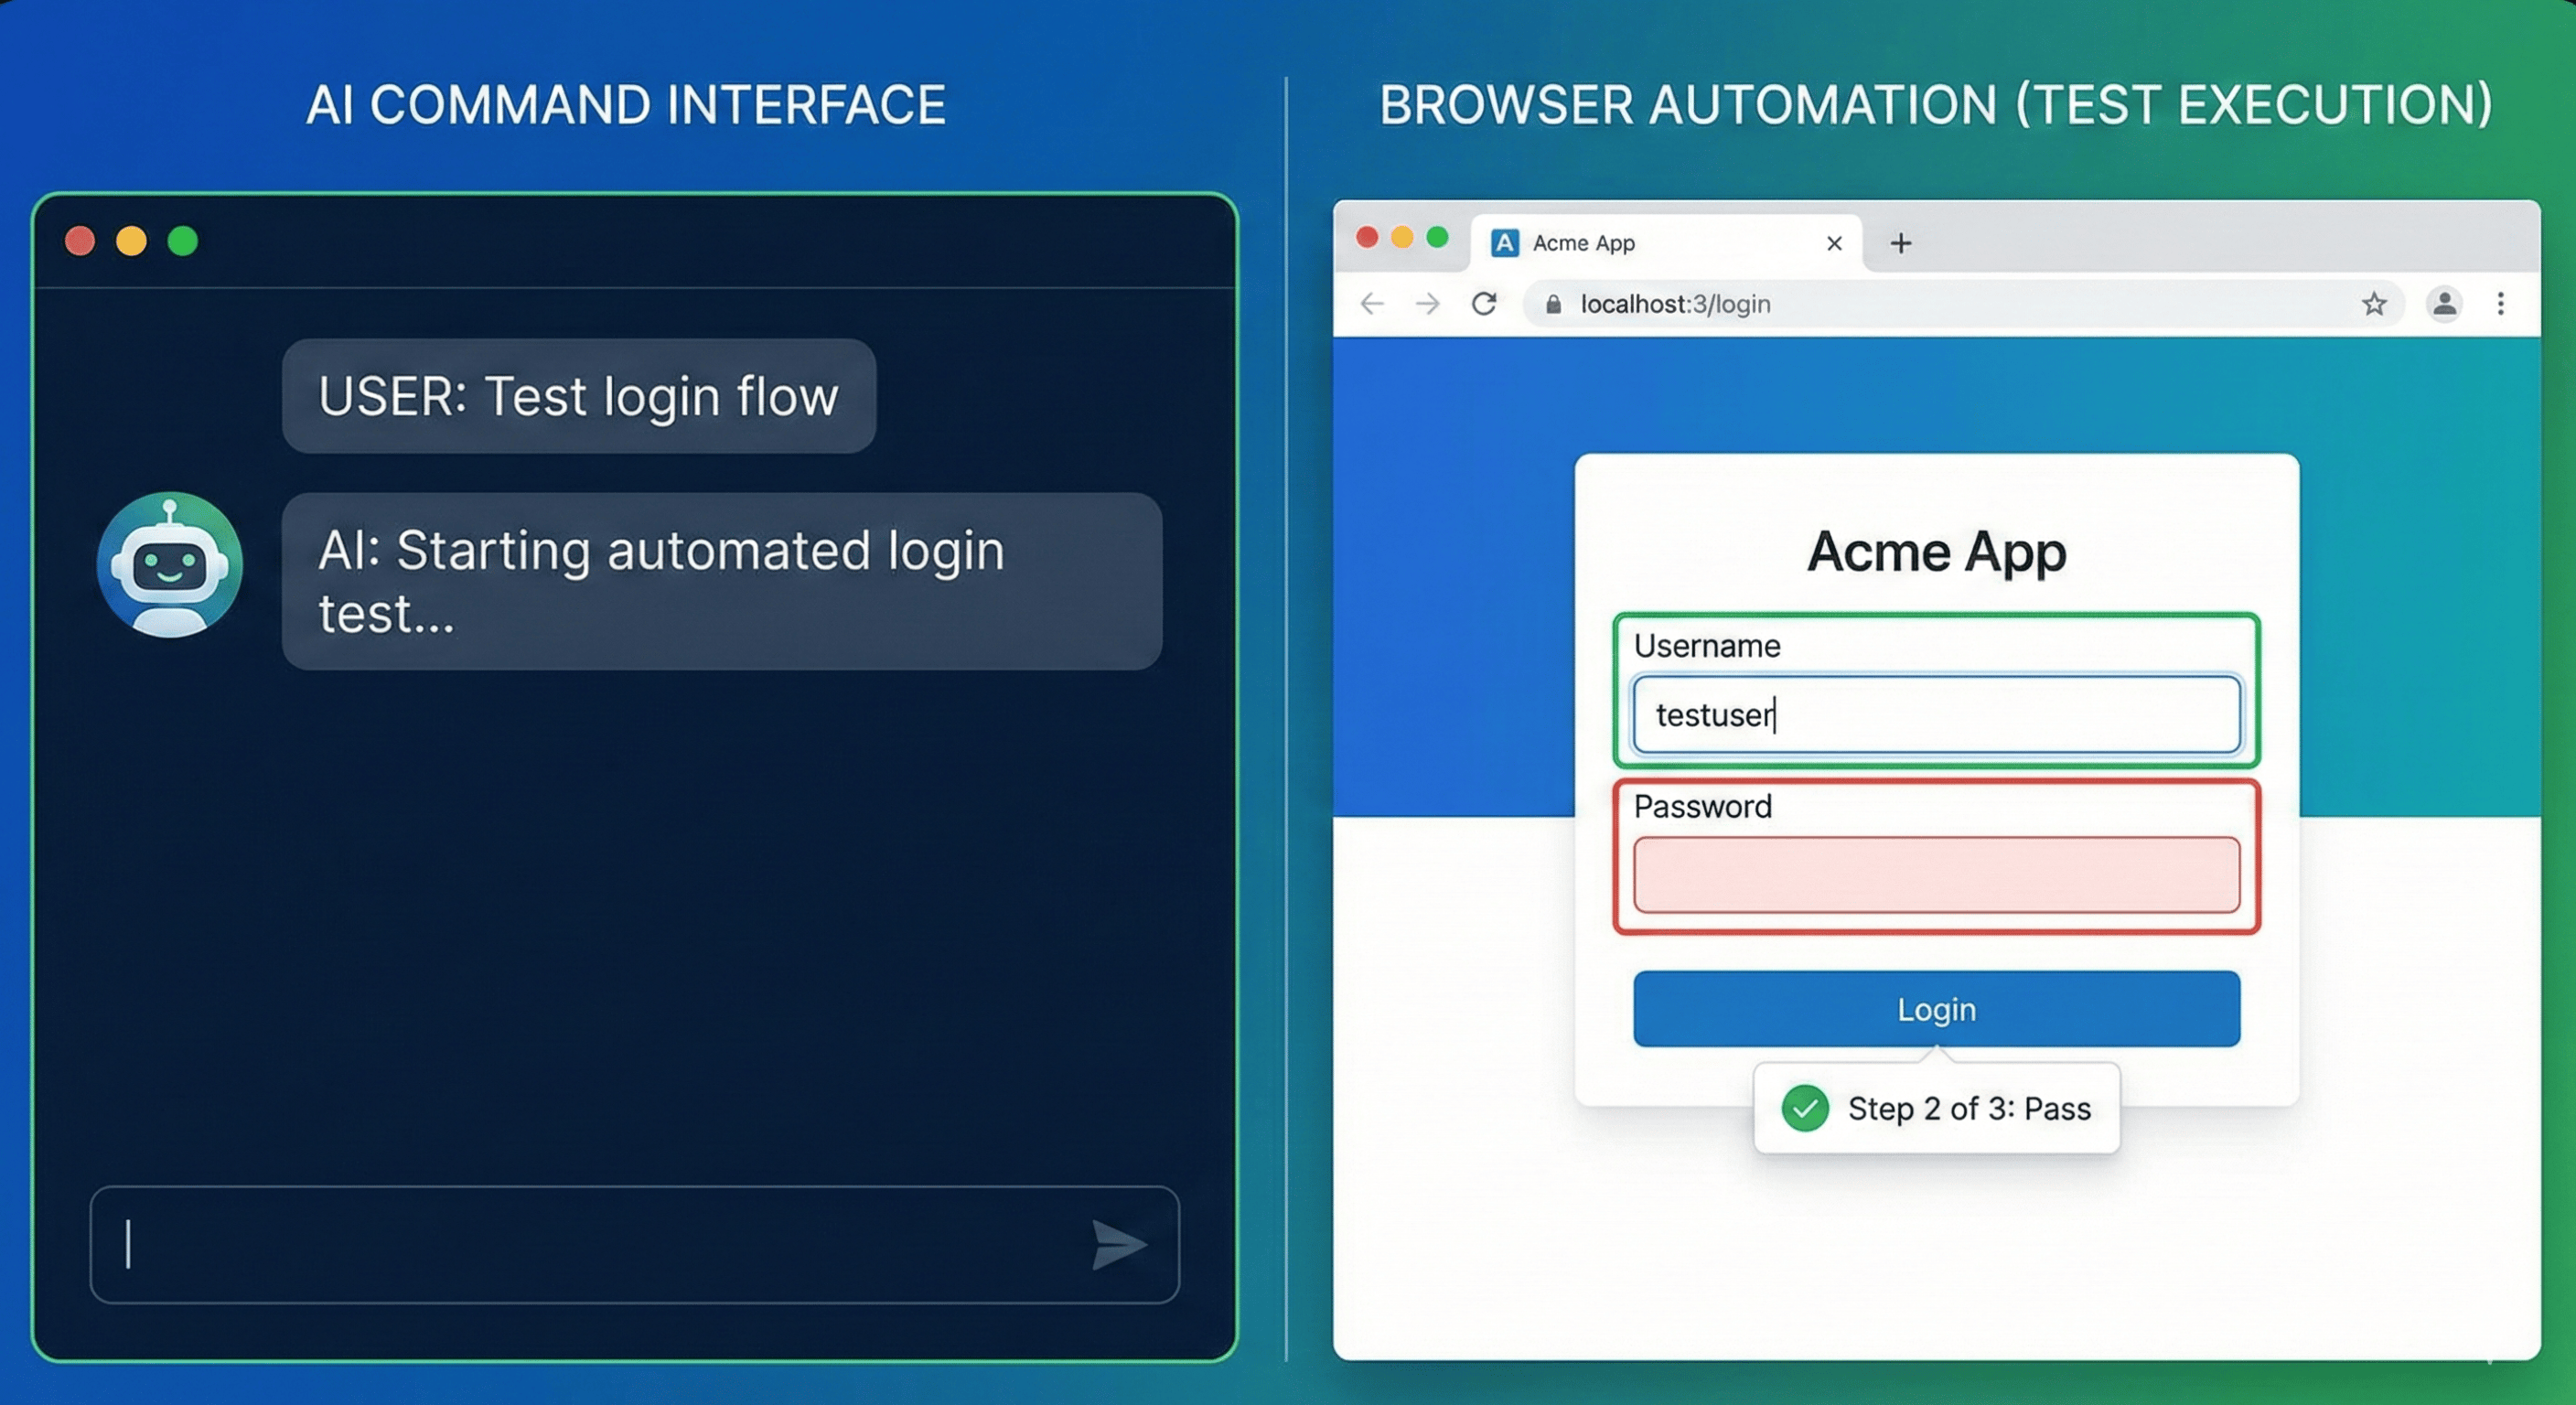
If you've been using Playwright MCP to connect AI agents with browser automation, there's a new tool from the same team that deserves your attention. Playwright CLI (@playwright/cli) is a command-line interface built specifically for AI coding agents - and it takes a fundamentally different approach to how the AI interacts with the browser.
The core idea: instead of streaming entire accessibility trees and screenshot bytes back into the LLM's context window (which is what MCP does), Playwright CLI saves everything to disk and lets the coding agent decide what it actually needs to read. The result is dramatically lower token consumption and a much larger set of available commands.
What is Playwright CLI?
Playwright CLI is a standalone command-line tool published by Microsoft under the @playwright/cli npm package. It launched in early 2026 as a companion to the existing Playwright MCP server.
Where Playwright MCP implements the Model Context Protocol - a JSON-based standard for AI-tool communication - Playwright CLI takes a simpler approach: it's just shell commands. Your coding agent (Claude Code, GitHub Copilot, Cursor, etc.) calls it through the Bash tool the same way it would run git or npm.
Each command is small and stateless from the model's perspective. You run playwright-cli snapshot to get a compact YAML file with element references like e21 and e35. You run playwright-cli click e21 to interact with an element. You run playwright-cli screenshot to save an image to disk. At no point does the full page DOM or image binary get injected into the LLM's context - unless the agent explicitly reads those files.
This is the key architectural difference, and it changes everything about token efficiency.
Why Token Efficiency Matters
Every AI coding agent operates within a context window - a fixed budget of tokens that includes your conversation history, code files, tool outputs, and everything the model needs to reason about.
With Playwright MCP, a single browser_navigate call to a content-rich page can return thousands of tokens worth of accessibility tree data. Taking a screenshot sends the entire image back as tokens. Over a multi-step automation session, this adds up fast. The Playwright team's own benchmarks showed that a typical browser automation task consumed ~114,000 tokens with MCP versus ~27,000 tokens with CLI - roughly a 4x reduction.
Why such a big difference? Two reasons:
1. Snapshots are saved to files, not returned inline. When MCP navigates to a page, it returns the full accessibility snapshot in the tool response - even if the agent only needs to find one button. CLI saves the snapshot as a YAML file on disk. The agent sees a one-line file path in the response and can choose to read it (or not).
2. Screenshots never enter the context. With MCP, when the LLM requests a screenshot, the image bytes are returned as part of the tool response and land in the context window. With CLI, screenshots are saved to .playwright-cli/ as PNG files. If the task was just "take a screenshot and save it" - which is common in testing workflows - the LLM never needs to see those pixels at all.
For coding agents working with large codebases where the context window is already packed with source files, test results, and conversation history, this efficiency is not a minor optimization - it's the difference between a session that works and one that hits context limits halfway through.
Getting Started with Playwright CLI
Prerequisites
You'll need Node.js 18+ and npm installed. That's it.
Step 1: Install Globally
npm install -g @playwright/cli@latestVerify:
playwright-cli --version
# 0.1.0
Step 2: Initialize Your Workspace
cd your-project-folder
playwright-cli install
This creates a .playwright-cli/ directory in your workspace. Each workspace gets its own browser sessions and configuration. If Chrome is detected on your system, it will be used as the default browser.
If you need a standalone browser (Chromium, Firefox, or WebKit):
playwright-cli install-browser
# Or for a specific browser:
playwright-cli install-browser --browser=firefox
Step 3: Install Skills (Optional but Recommended)
If you're using Claude Code or another skill-aware agent:
playwright-cli install --skillsThis copies a SKILL.md file and reference documentation to your workspace that the coding agent can read to understand all available commands. This is how Claude Code or Copilot learns the CLI's capabilities without needing MCP tool schemas.
Step 4: Open a Browser and Start Automating
# Open a browser (headless by default)
playwright-cli open https://example.com
# Or in headed mode to see what's happening
playwright-cli open https://example.com --headed
That's all there is to setup. No MCP server configuration, no JSON config files in your IDE, no protocol handshakes.
Playwright CLI is great for your dev workflow. But who’s testing at release time?
AI automates what it can. Your team handles the rest manually. Both tracked in one place with screenshots, video, and full evidence. Set up in 60 seconds.
A Practical Example
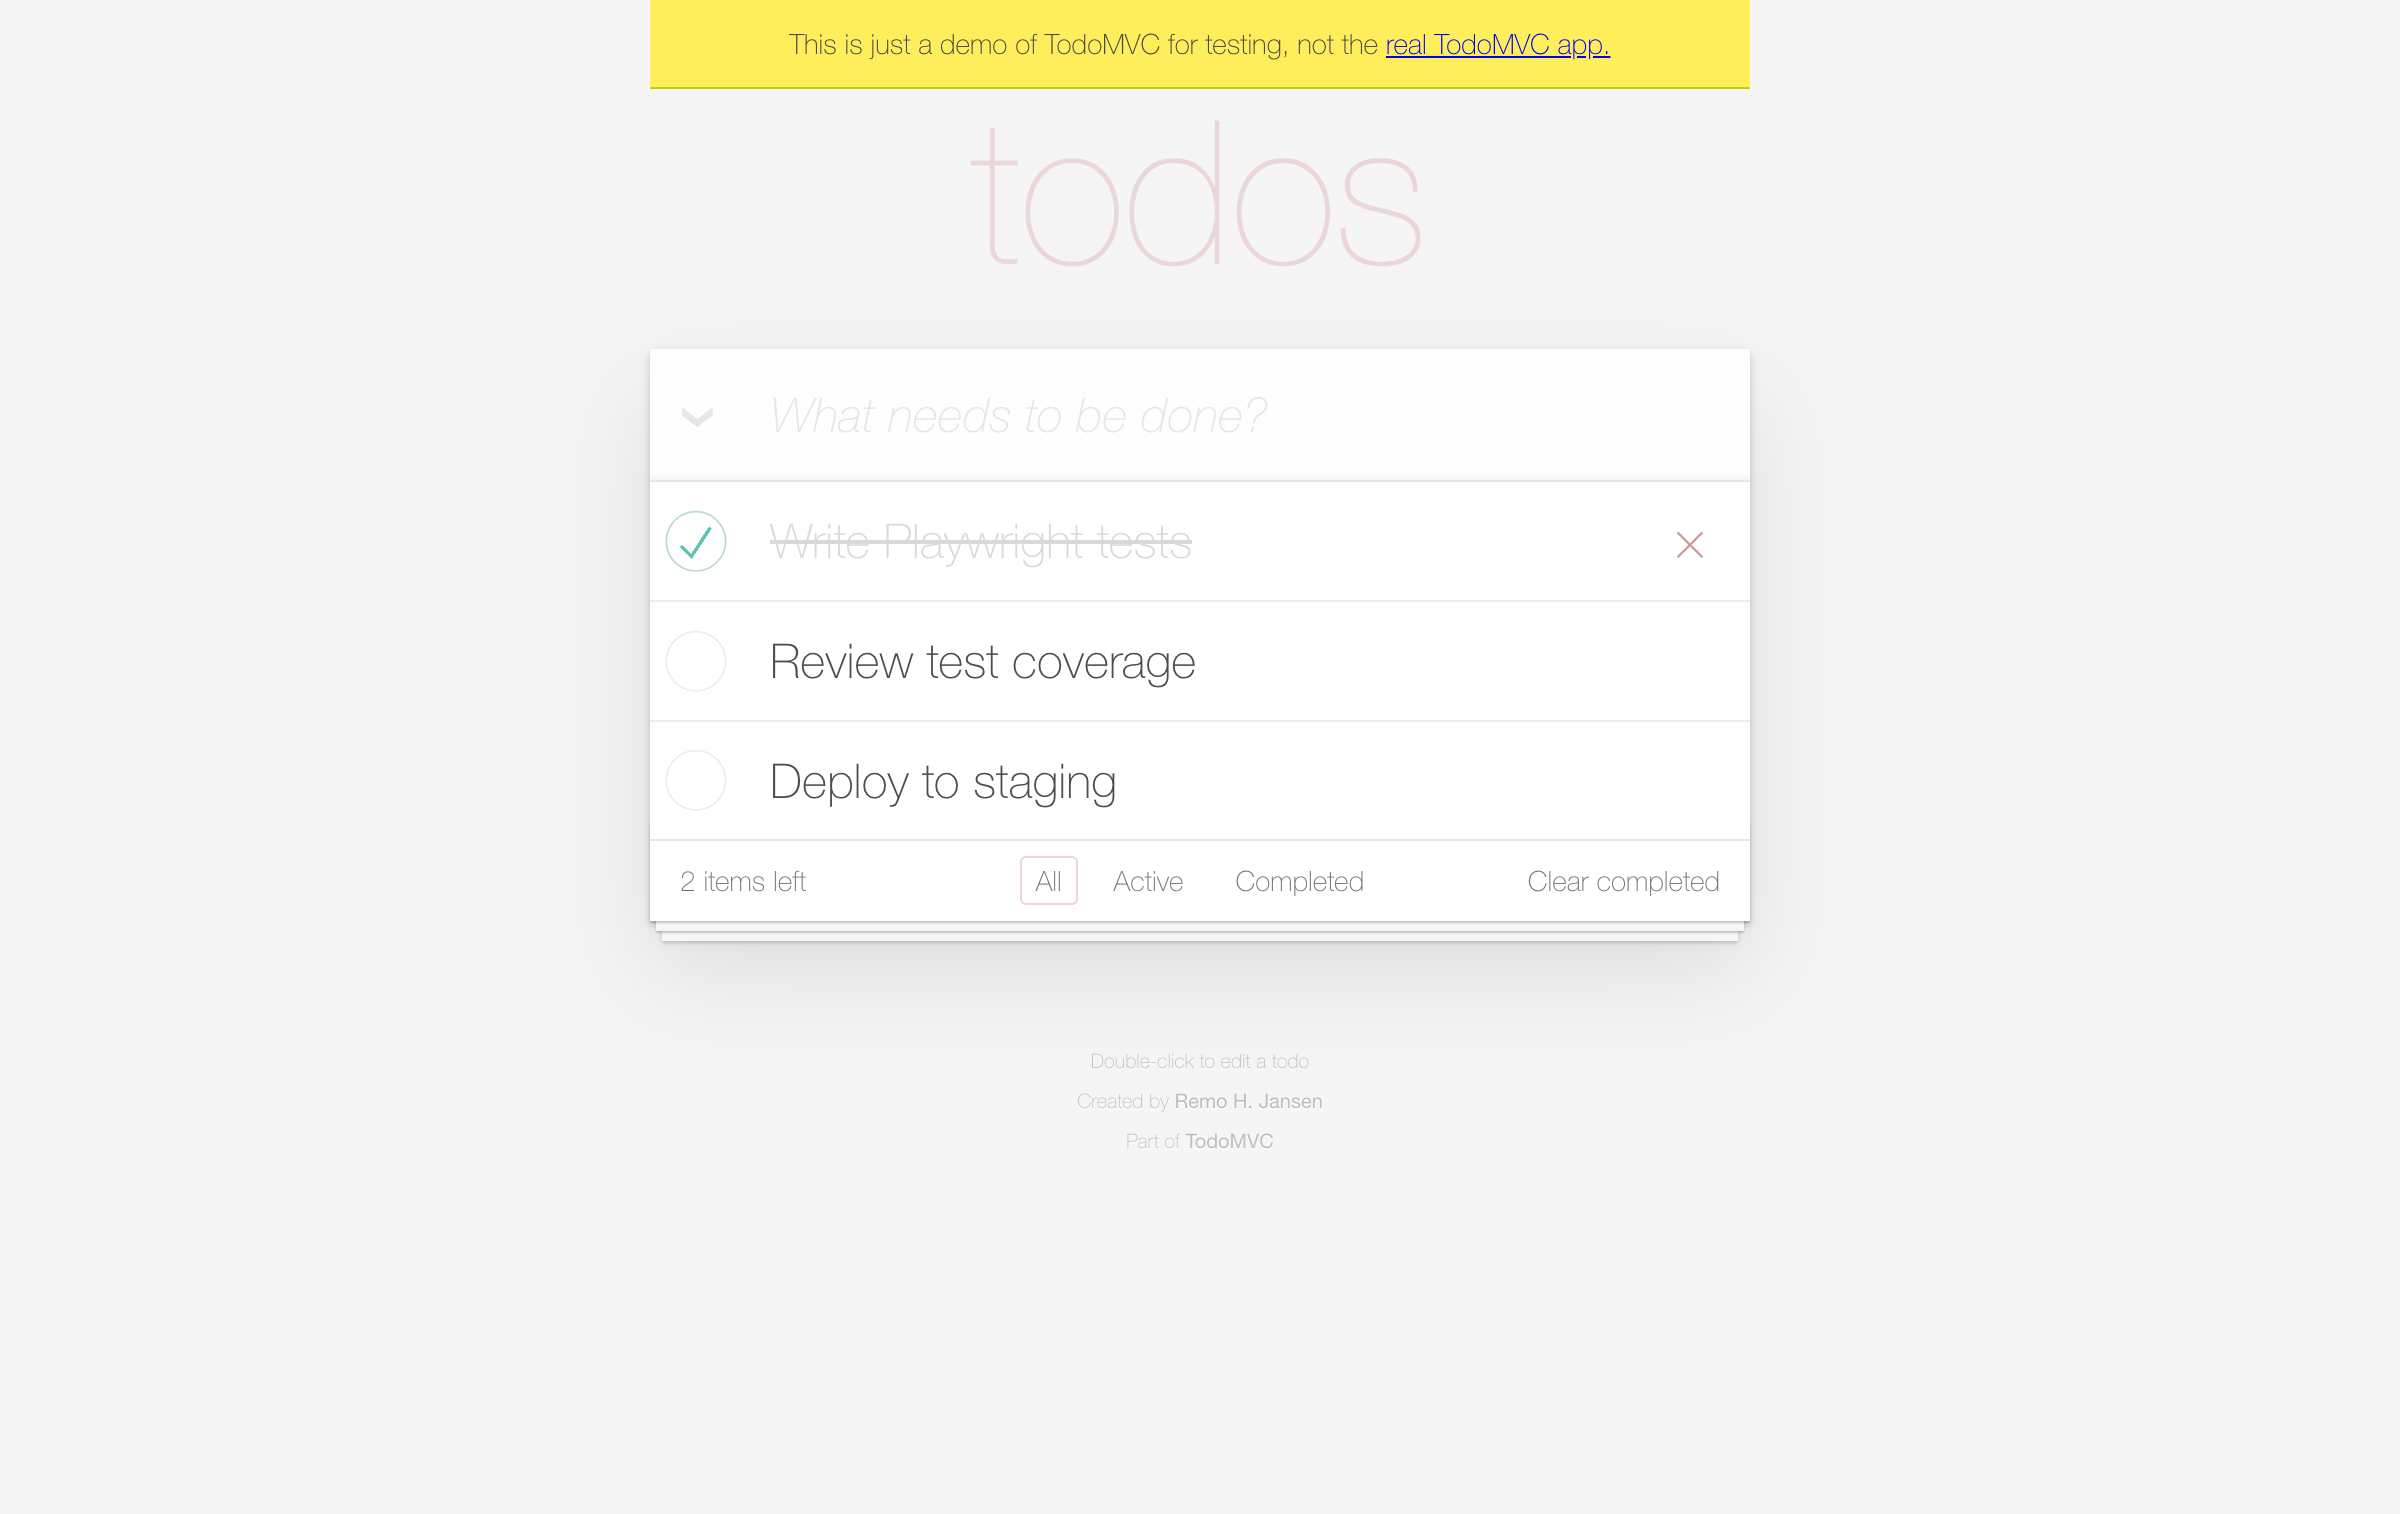
Here's a real session automating the TodoMVC demo app - the kind of workflow a coding agent would execute during testing:
# Open the browser
playwright-cli open https://demo.playwright.dev/todomvc/ --headed
# Take a snapshot to get element references
playwright-cli snapshot
# The snapshot is saved as a YAML file:
# .playwright-cli/page-2026-02-12T05-26-24-961Z.yml
#
# Contents (compact element tree):
# - textbox "What needs to be done?" [ref=e8]
# - checkbox "Toggle Todo" [ref=e21]
# - generic [ref=e22]: Write Playwright tests
# ...
# Add some todo items
playwright-cli fill e8 "Write Playwright tests"
playwright-cli press Enter
playwright-cli fill e8 "Review test coverage"
playwright-cli press Enter
playwright-cli fill e8 "Deploy to staging"
playwright-cli press Enter
# Check off the first item
playwright-cli check e21
# Take a screenshot for verification
playwright-cli screenshot
# Saved: .playwright-cli/page-2026-02-12T05-27-11-604Z.png
Notice how each command returns a minimal response - a file path and a confirmation. The agent never had to process a 10,000-token accessibility tree or a 50,000-token screenshot. It got compact element references (e8, e21) and used them directly.
Full Command Reference
Playwright CLI ships with a significantly larger command surface than what MCP exposes by default. This is possible precisely because CLI commands don't bloat the context:
| Category | Commands |
|---|---|
| Core | open, close, goto, click, dblclick, fill, type, drag, hover, select, upload, check, uncheck, snapshot, eval |
| Navigation | go-back, go-forward, reload |
| Keyboard | press, keydown, keyup |
| Mouse | mousemove, mousedown, mouseup, mousewheel |
| Save as | screenshot, pdf |
| Tabs | tab-list, tab-new, tab-close, tab-select |
| Storage | state-save, state-load, cookie-, localstorage-, sessionstorage-* |
| Network | route, route-list, unroute |
| DevTools | console, network, tracing-start, tracing-stop, video-start, video-stop |
| Dialogs | dialog-accept, dialog-dismiss |
With MCP, many of these commands exist but are disabled by default to avoid overwhelming the context. CLI has no such limitation - every command is available because the data stays on disk.
Managing Sessions
One powerful feature is named browser sessions. You can run multiple independent browsers simultaneously:
# Default session
playwright-cli open https://your-app.com
# Named session for a different context
playwright-cli -s=admin open https://your-app.com/admin
# List active sessions
playwright-cli list
# Close all sessions
playwright-cli close-all
This is useful for testing scenarios that require multiple user roles or parallel browser contexts. Each session maintains its own cookies, storage, and state.
You can also persist and restore authentication state:
# Save login state after authenticating
playwright-cli state-save logged-in.json
# Restore it later (skip login flow)
playwright-cli state-load logged-in.json
Playwright CLI vs. Playwright MCP: When to Use Which
Both tools are maintained by the same team and share the same Playwright engine underneath. The choice comes down to your agent's environment:
| Playwright CLI | Playwright MCP | |
|---|---|---|
| Best for | Coding agents with shell access | Generic AI agents / sandboxed environments |
| Works with | Claude Code, GitHub Copilot, Cursor, Windsurf | Claude Desktop, any MCP-compatible client |
| Token usage | Low - data saved to disk | High - data returned in tool responses |
| Available commands | Full set (50+) | Subset enabled by default |
| Setup | npm install -g + playwright-cli install | MCP server config in IDE/client settings |
| Headless by default | Yes | Configurable |
| Filesystem required | Yes | No |
| Skill-based | Yes (interoperable with other skill systems) | No (uses MCP tool schemas) |
Use CLI when your agent has access to the filesystem and shell - which is the case for all major coding agents (Claude Code, Copilot, Cursor). The token savings compound over longer sessions and leave more room for your actual code and test files in the context.
Use MCP when your agent runs in a sandboxed environment without shell access (like Claude Desktop or a custom chat interface), or when you're building an agentic loop that uses the MCP protocol to orchestrate multiple tools.
The Playwright team's recommendation is straightforward: if your tasks involve coding, testing, and you're using a coding agent - use CLI. If you're building autonomous agent workflows that need the MCP protocol standard - use MCP.
Configuration
For projects that need custom settings, create a playwright-cli.json in your project root:
{
  "browser": {
    "browserName": "chromium",
    "launchOptions": { "headless": true }
  },
  "network": {
    "allowedOrigins": ["https://your-app.com"],
    "blockedOrigins": []
  },
  "timeouts": {
    "action": 5000,
    "navigation": 30000
  },
  "outputDir": "./test-output"
}
How This Fits Into Your Testing Workflow
Playwright CLI isn't a replacement for your test framework - it's a tool that makes AI coding agents much better at browser automation during development and testing. Here are some real scenarios:
Generating end-to-end tests: Ask your coding agent to open your app, walk through a user flow, and write a Playwright test file based on what it does. CLI's YAML flow recording captures every interaction, making it straightforward to convert into test code.
Debugging UI issues: Instead of describing a bug, have the agent open the page, inspect elements, take screenshots, and diagnose the issue directly.
Exploratory testing: Point the agent at a feature and let it click through different paths, checking for errors in the console and unexpected behavior.
Visual regression: Capture screenshots at key points in a workflow and compare them across runs.
Beyond Browser Automation: TestCollab's QA Copilot
Tools like Playwright CLI and MCP are powerful browser drivers - they give AI agents the ability to click, type, and navigate. But they're fundamentally general-purpose. Every session starts from zero: the agent has no memory of your application, no understanding of your test cases, and no knowledge of what "correct" behavior looks like. It figures things out from snapshots, one page at a time.
TestCollab's QA Copilot takes a different approach. It's a purpose-built testing agent that is trained on your application before it runs a single test.
App-trained, not general-purpose. QA Copilot goes through an initial training phase on your application's screens and your existing test cases. When you ask it to test a flow, it's working from learned knowledge of your app's UI, not guessing from a raw snapshot. This is why it achieves high accuracy out of the box - it has seen your forms, your navigation patterns, and your expected behaviors before.
Intent-based execution. With Playwright CLI, you (or your coding agent) need to spell out every step: open this URL, snapshot, find the login field, fill it, click submit. With QA Copilot, you can say "Test the checkout flow" and it knows what that means - because it was trained on it. It understands the high-level intent and figures out the individual steps. This is what we call intent-based automation: you describe what to test, not how.
Deterministic and self-healing. A general LLM driving a browser through CLI might take a slightly different path each run, or break when a developer renames a button. QA Copilot produces consistent results because its training reduces uncertainty, and it auto-heals when selectors change between releases - no manual script maintenance required.
Integrated QA platform. CLI outputs are files on disk. QA Copilot results are tracked inside the TestCollab platform - with test versioning, datasets, CI/CD integration, issue tracker links, and reporting dashboards. You can trigger test suites on every commit and get structured pass/fail reports with screenshots and logs, all in one place.
Where each tool fits: Use Playwright CLI during development for quick browser automation - debugging UI issues, generating test scaffolds, exploratory testing. Use QA Copilot for structured, repeatable test execution at scale in your CI/CD pipeline. They complement each other well. And if you want your coding agent to interact with your test management data, TestCollab's MCP Server bridges that gap too. If you're still evaluating where to store and organize those test assets, see our comparison of the leading test management tools for AI-driven QA teams.
If you're curious to see how trained, intent-based testing compares to general-purpose browser automation, try QA Copilot free with your own application.
Playwright CLI is one piece of how Claude Code fits into QA workflows. For the broader picture - including test case generation, risk analysis, evidence tracking, and more - see our guide on Claude Code for QA testing.
Links and Resources
- GitHub Repository: microsoft/playwright-cli
- npm Package: @playwright/cli
- Playwright MCP (comparison): microsoft/playwright-mcp
- Our Playwright MCP deep dive: What is Playwright MCP?
- TestCollab QA Copilot: AI-powered test execution
- TestCollab MCP Server: Test management integration for AI agents